


Before I go into the build, I have decided to call this prototype ARV MK1. ARV is for Autonomous Return Vehicle.
Here’s what I made:

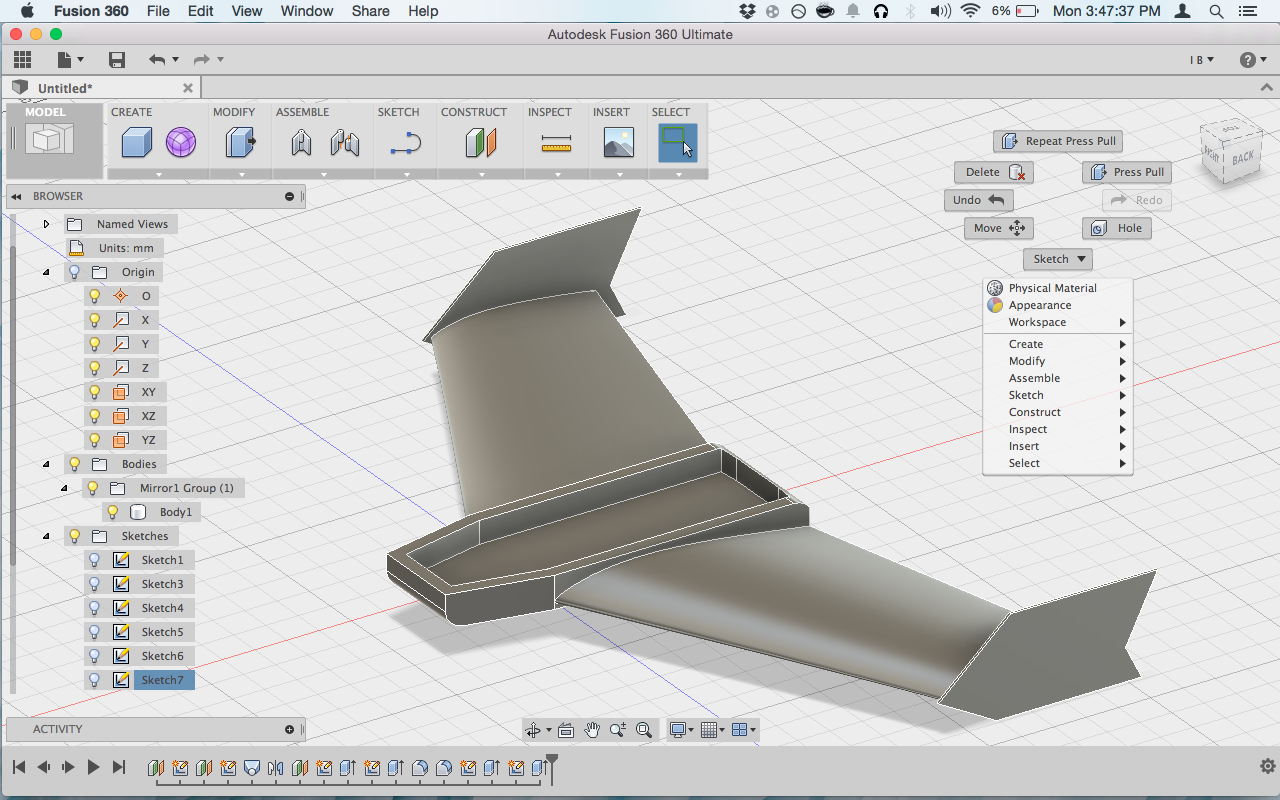
I started by making a rough CAD sketch of the airframe. This helps me visualise the general dimensions before I start cutting up my expensive foam.

In order to cut the wings, I used the home made hot wire foam cutter I described in an earlier article. The hot wire follows two template airfoils in order to create the proper shape. I cut these templates out of clear acrylic.
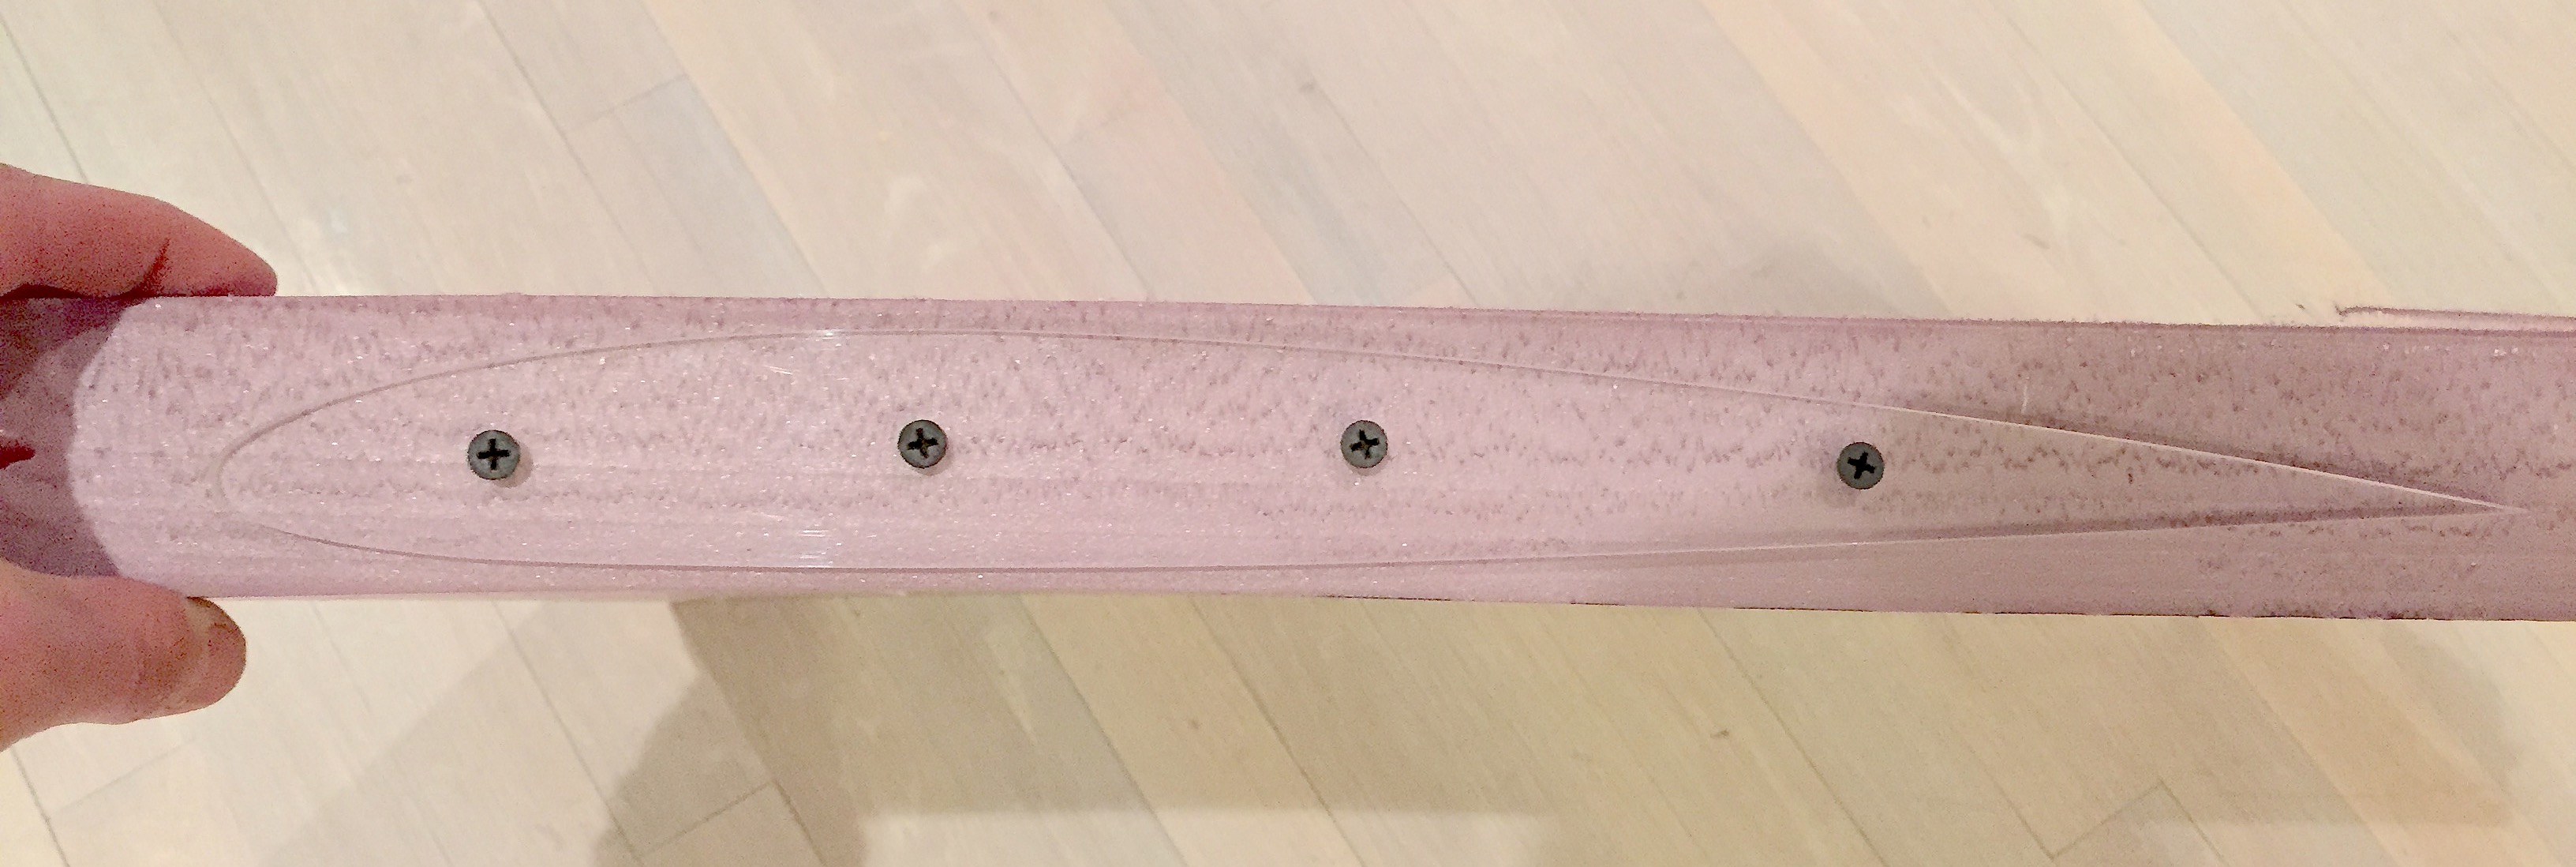
After sanding the edges as smooth as possible, I screwed them onto the sides of a 20 inch block of foam.
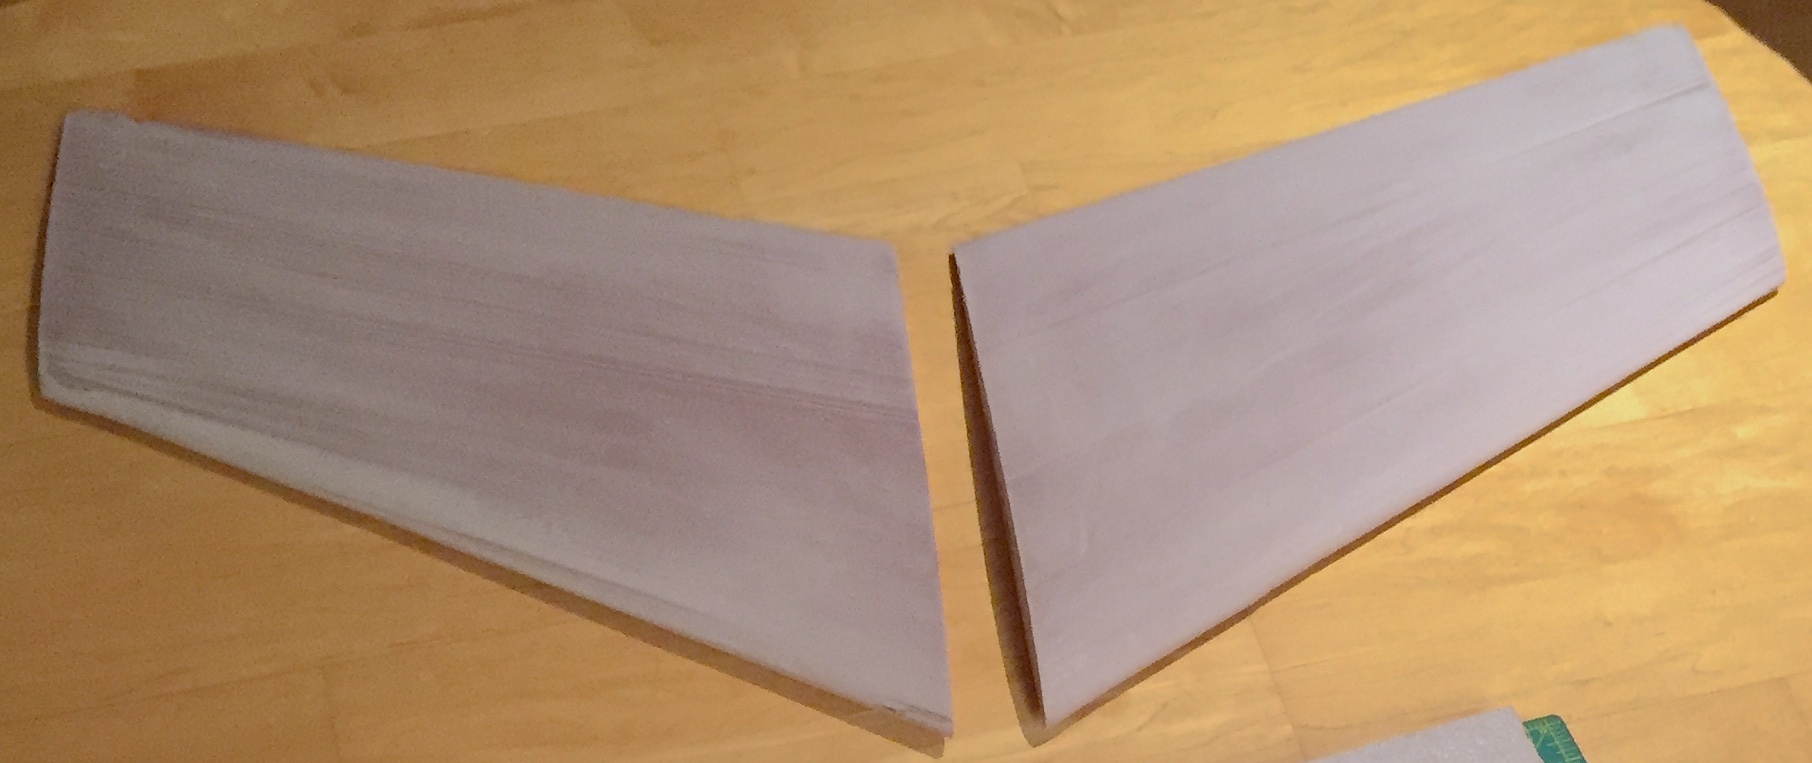
I used some test pieces to tune the hot wire cutter to the right temperature, and procceded to cut the wings by slowly and carefully dragging the wire over the acrylic airfoil profiles. This proved much harder than anticipate, as I found it difficult to the keep the wire in the same relative position on both sides of the wing. Also, any deviations in cutting pace resulted in ridges on the surface of the wing.
Regardless, when my first two wing cores slid out of larger foam blocks I knew that they would fly beautifully.
The fuselage is made out of the same foam cut using the hot wire foam cutter. I glued it using gorilla glue. This is one of the few adhesives that bonds strongly to foam without corroding it. In this application, it works particularly well because it is relatively inexpensive, and during the curing process it expands to fill gaps in the glue joints. This will strengthen the fuslage, and prevent heat loss due to air flowing through the cracks.
Here is the fuselage drying underneath some weights.

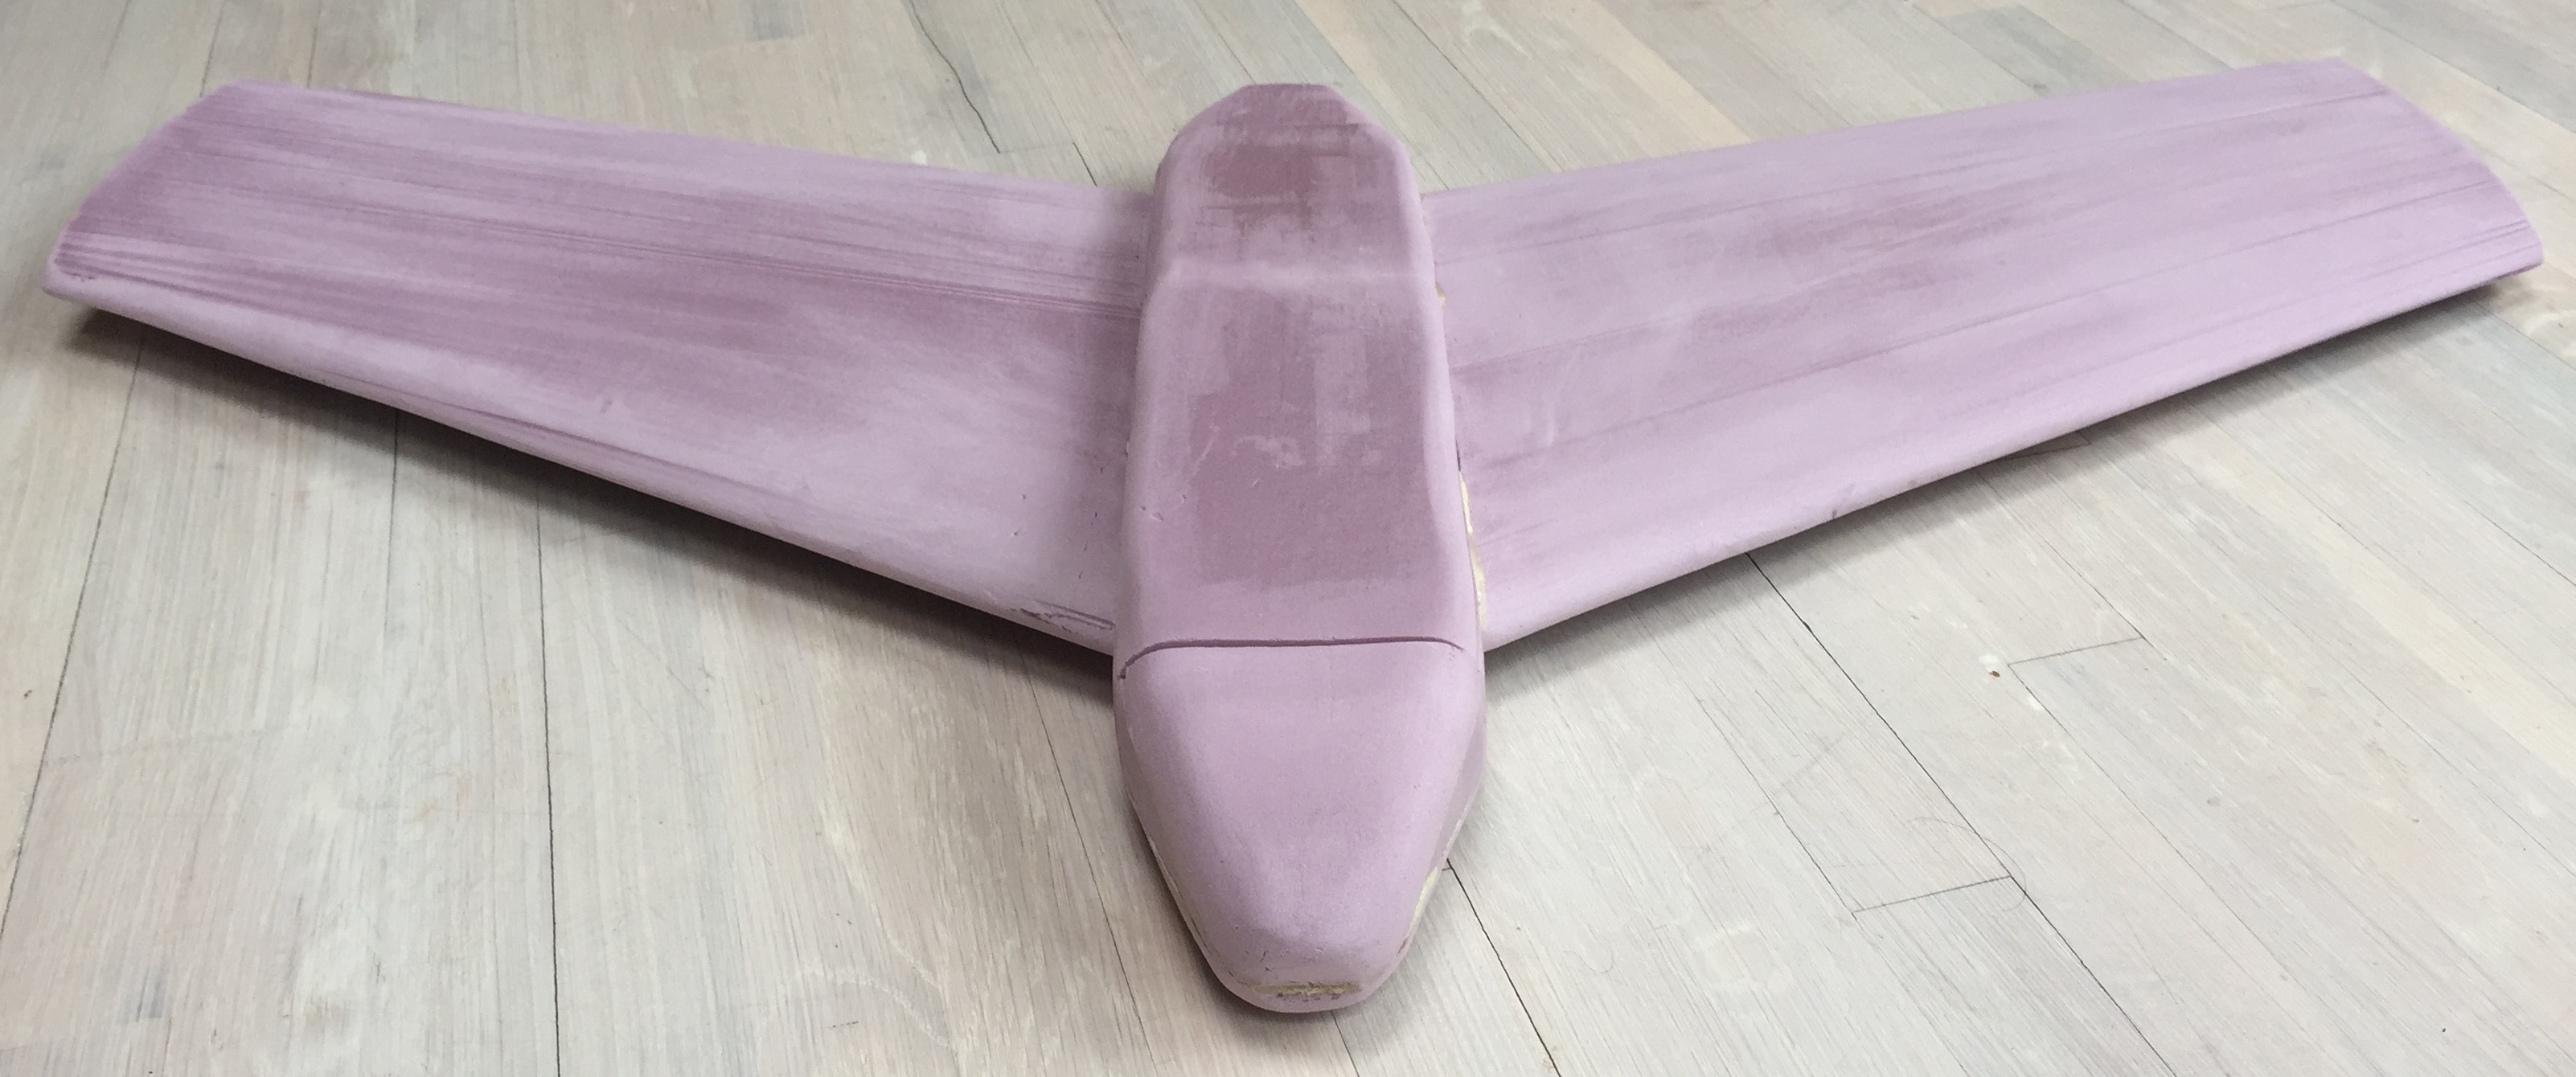
I ran small sections of fiberglass rod through the fuselage and into the wings. This serves more of an alignment purpose, than structural, as the foam is fairly strong on it’s own. I then glued the wing cores onto the sides of the fuselage and used strips of tape to hold them in place.

When it was done gluing, several hours of sanding (with a mask and goggles to avoid the foam particles) brought the airframe into shape.
Next, I cut out the control surface from the foam.

And glued on vertical stabilizers made out of stiff foam core from CVS.
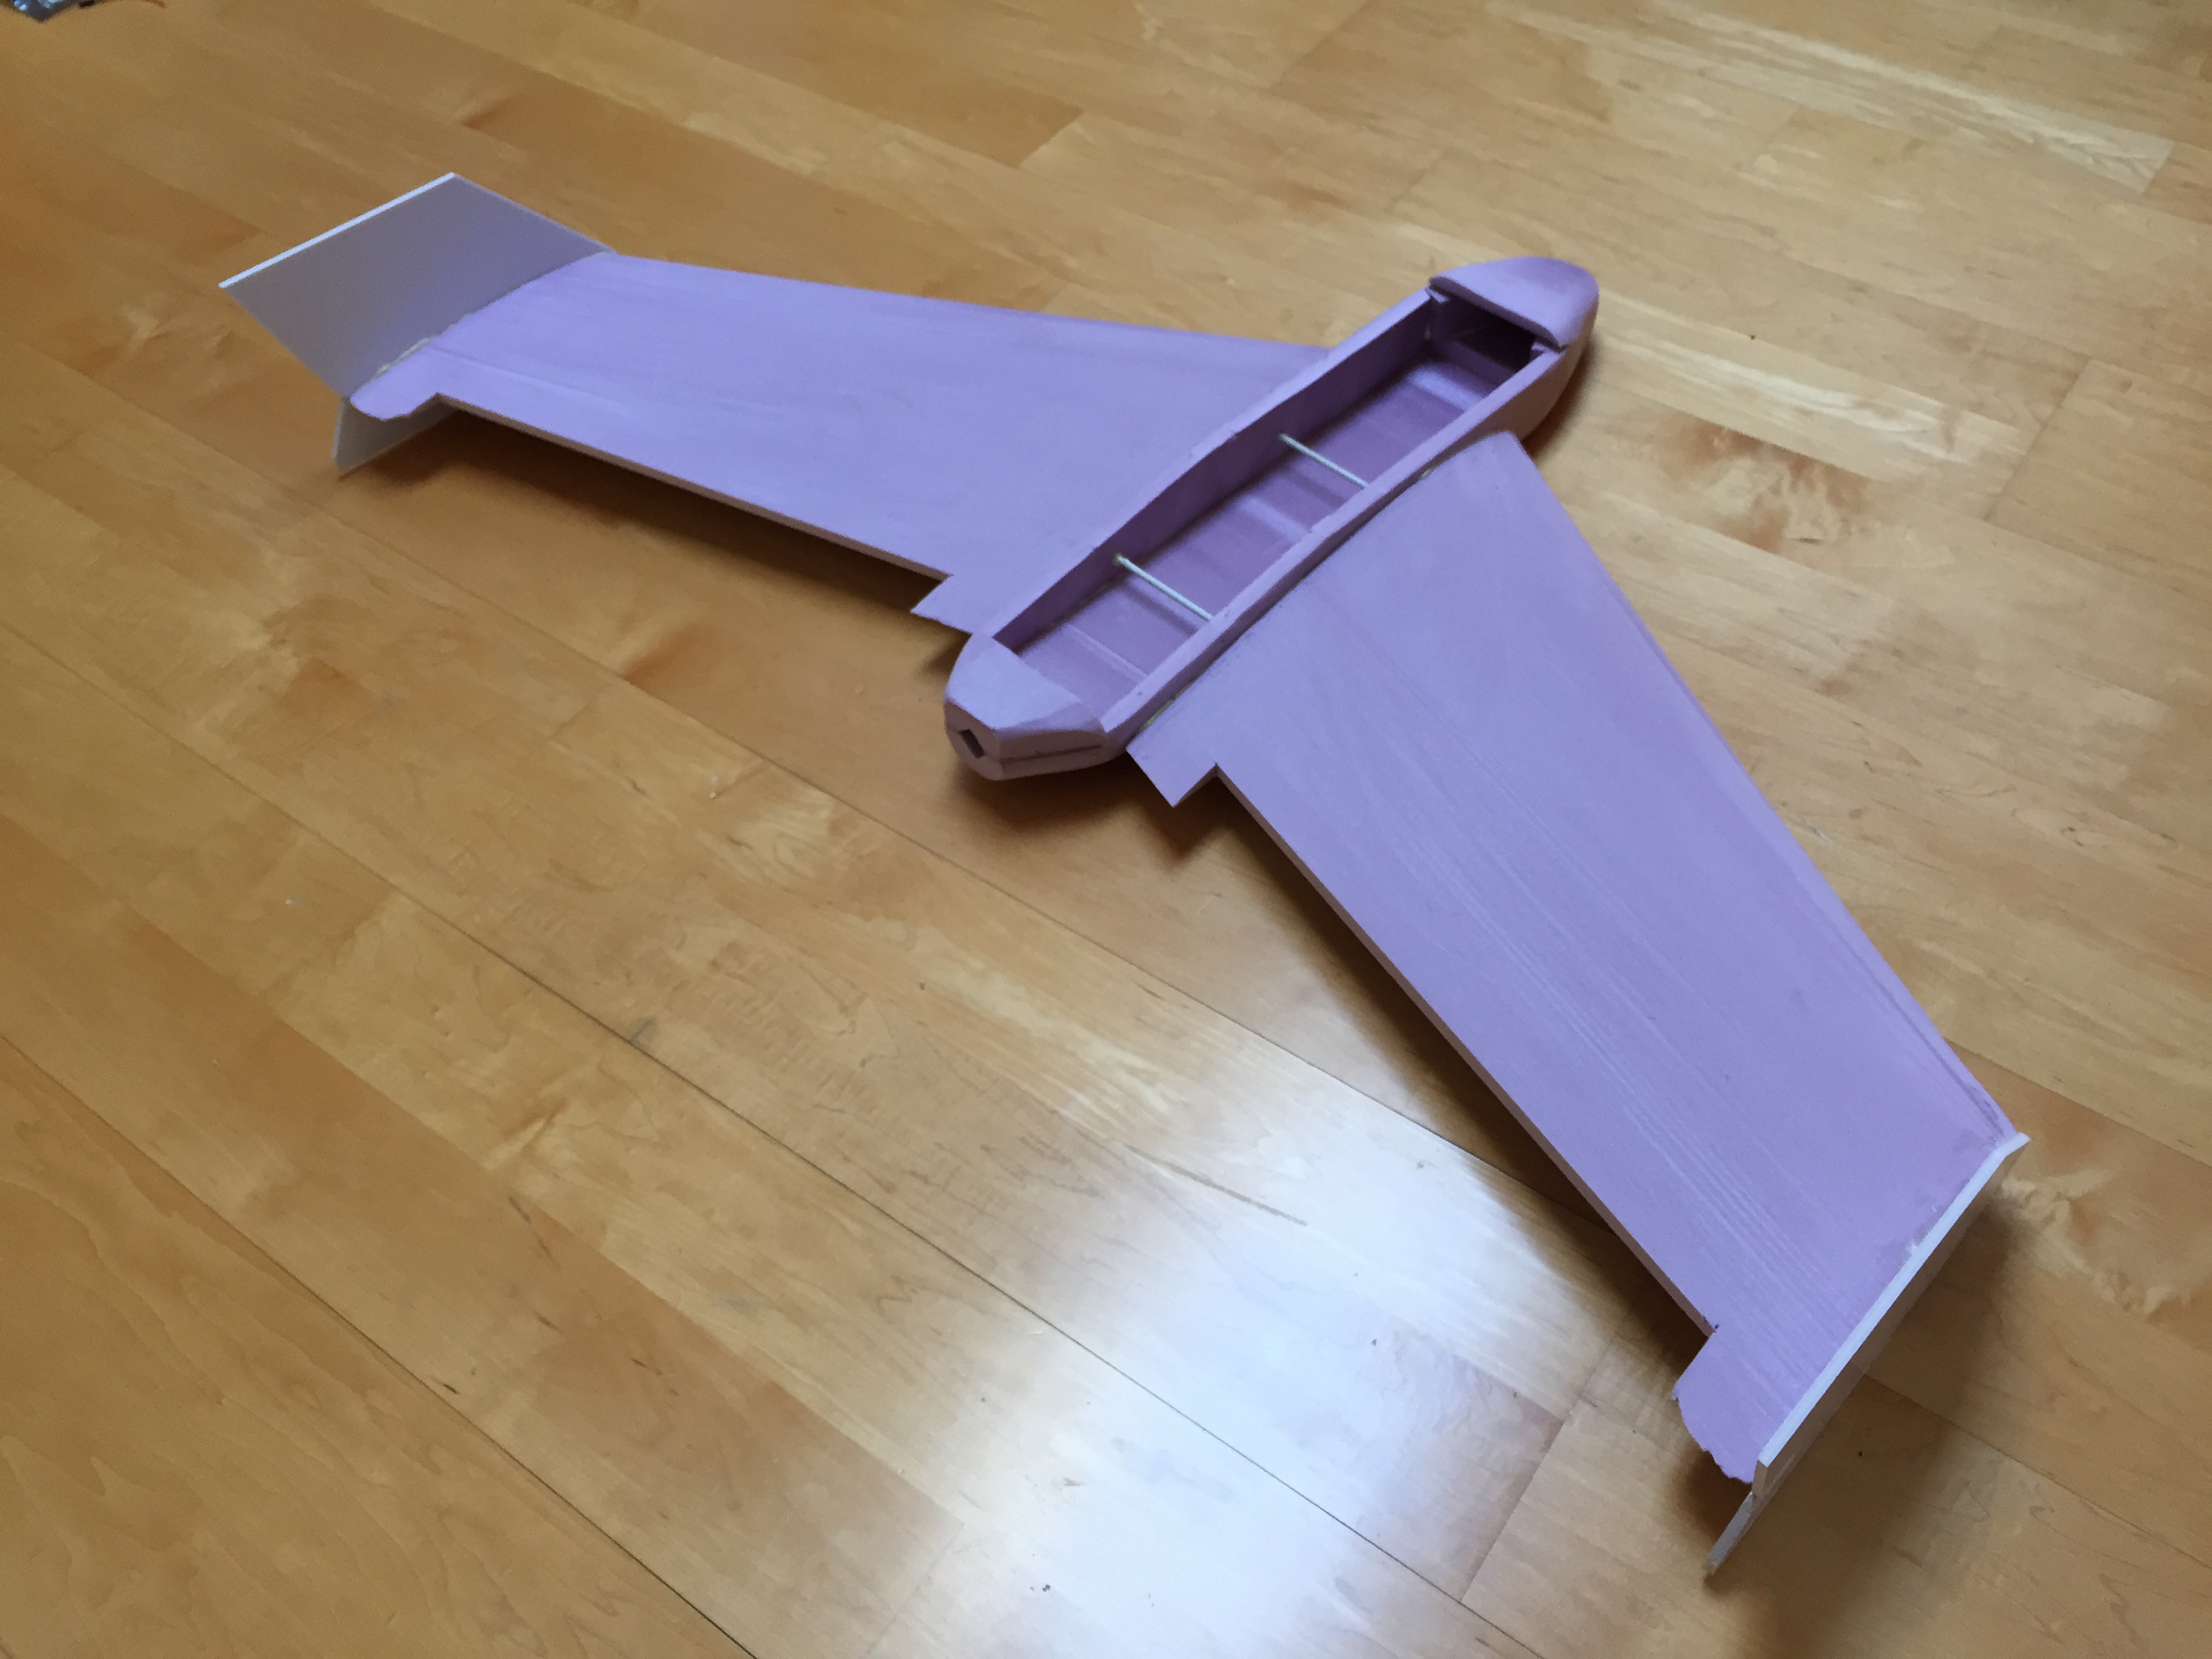
The elevons were covered hinged and reattached to the wings using thin wing tape. This is similar to packing tape, but slightly thinner and it seems to bond better to this type of foam. For later prototypes, the tape will likely be replaced by hinges as tape adhesives don’t work well with low temperatures and pressures.

In the final vehicle the servos will be inside the fuselage to protect them from the harsh environmental conditions. This means that there is a slight challenge in creating a linkage to control the elevons from within the fuselage. I had initially considered using a cable-in-tube solution similar to those found on bicycle brakes, but decided to try guided pushrod method for this prototype.
I 3D printed little pushrod guides.
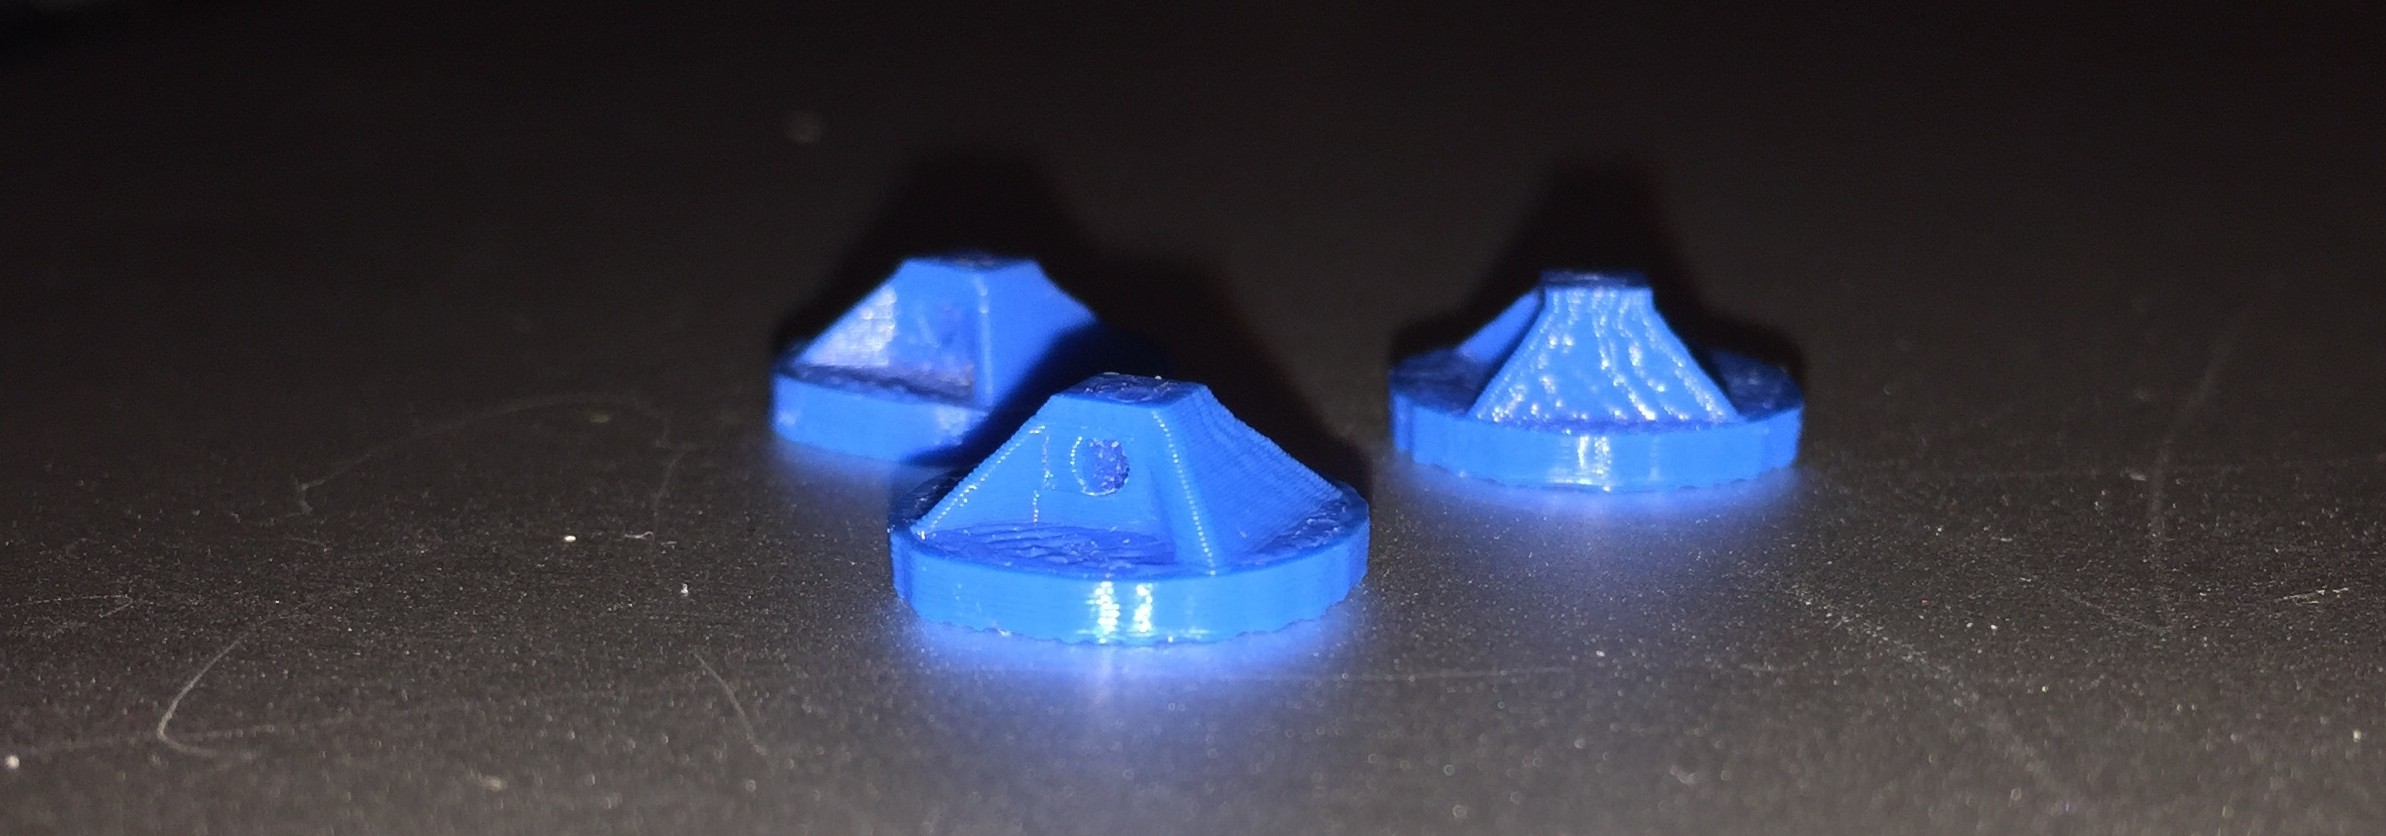
And used foam-safe CA glue to attach them directly to the wing surface.
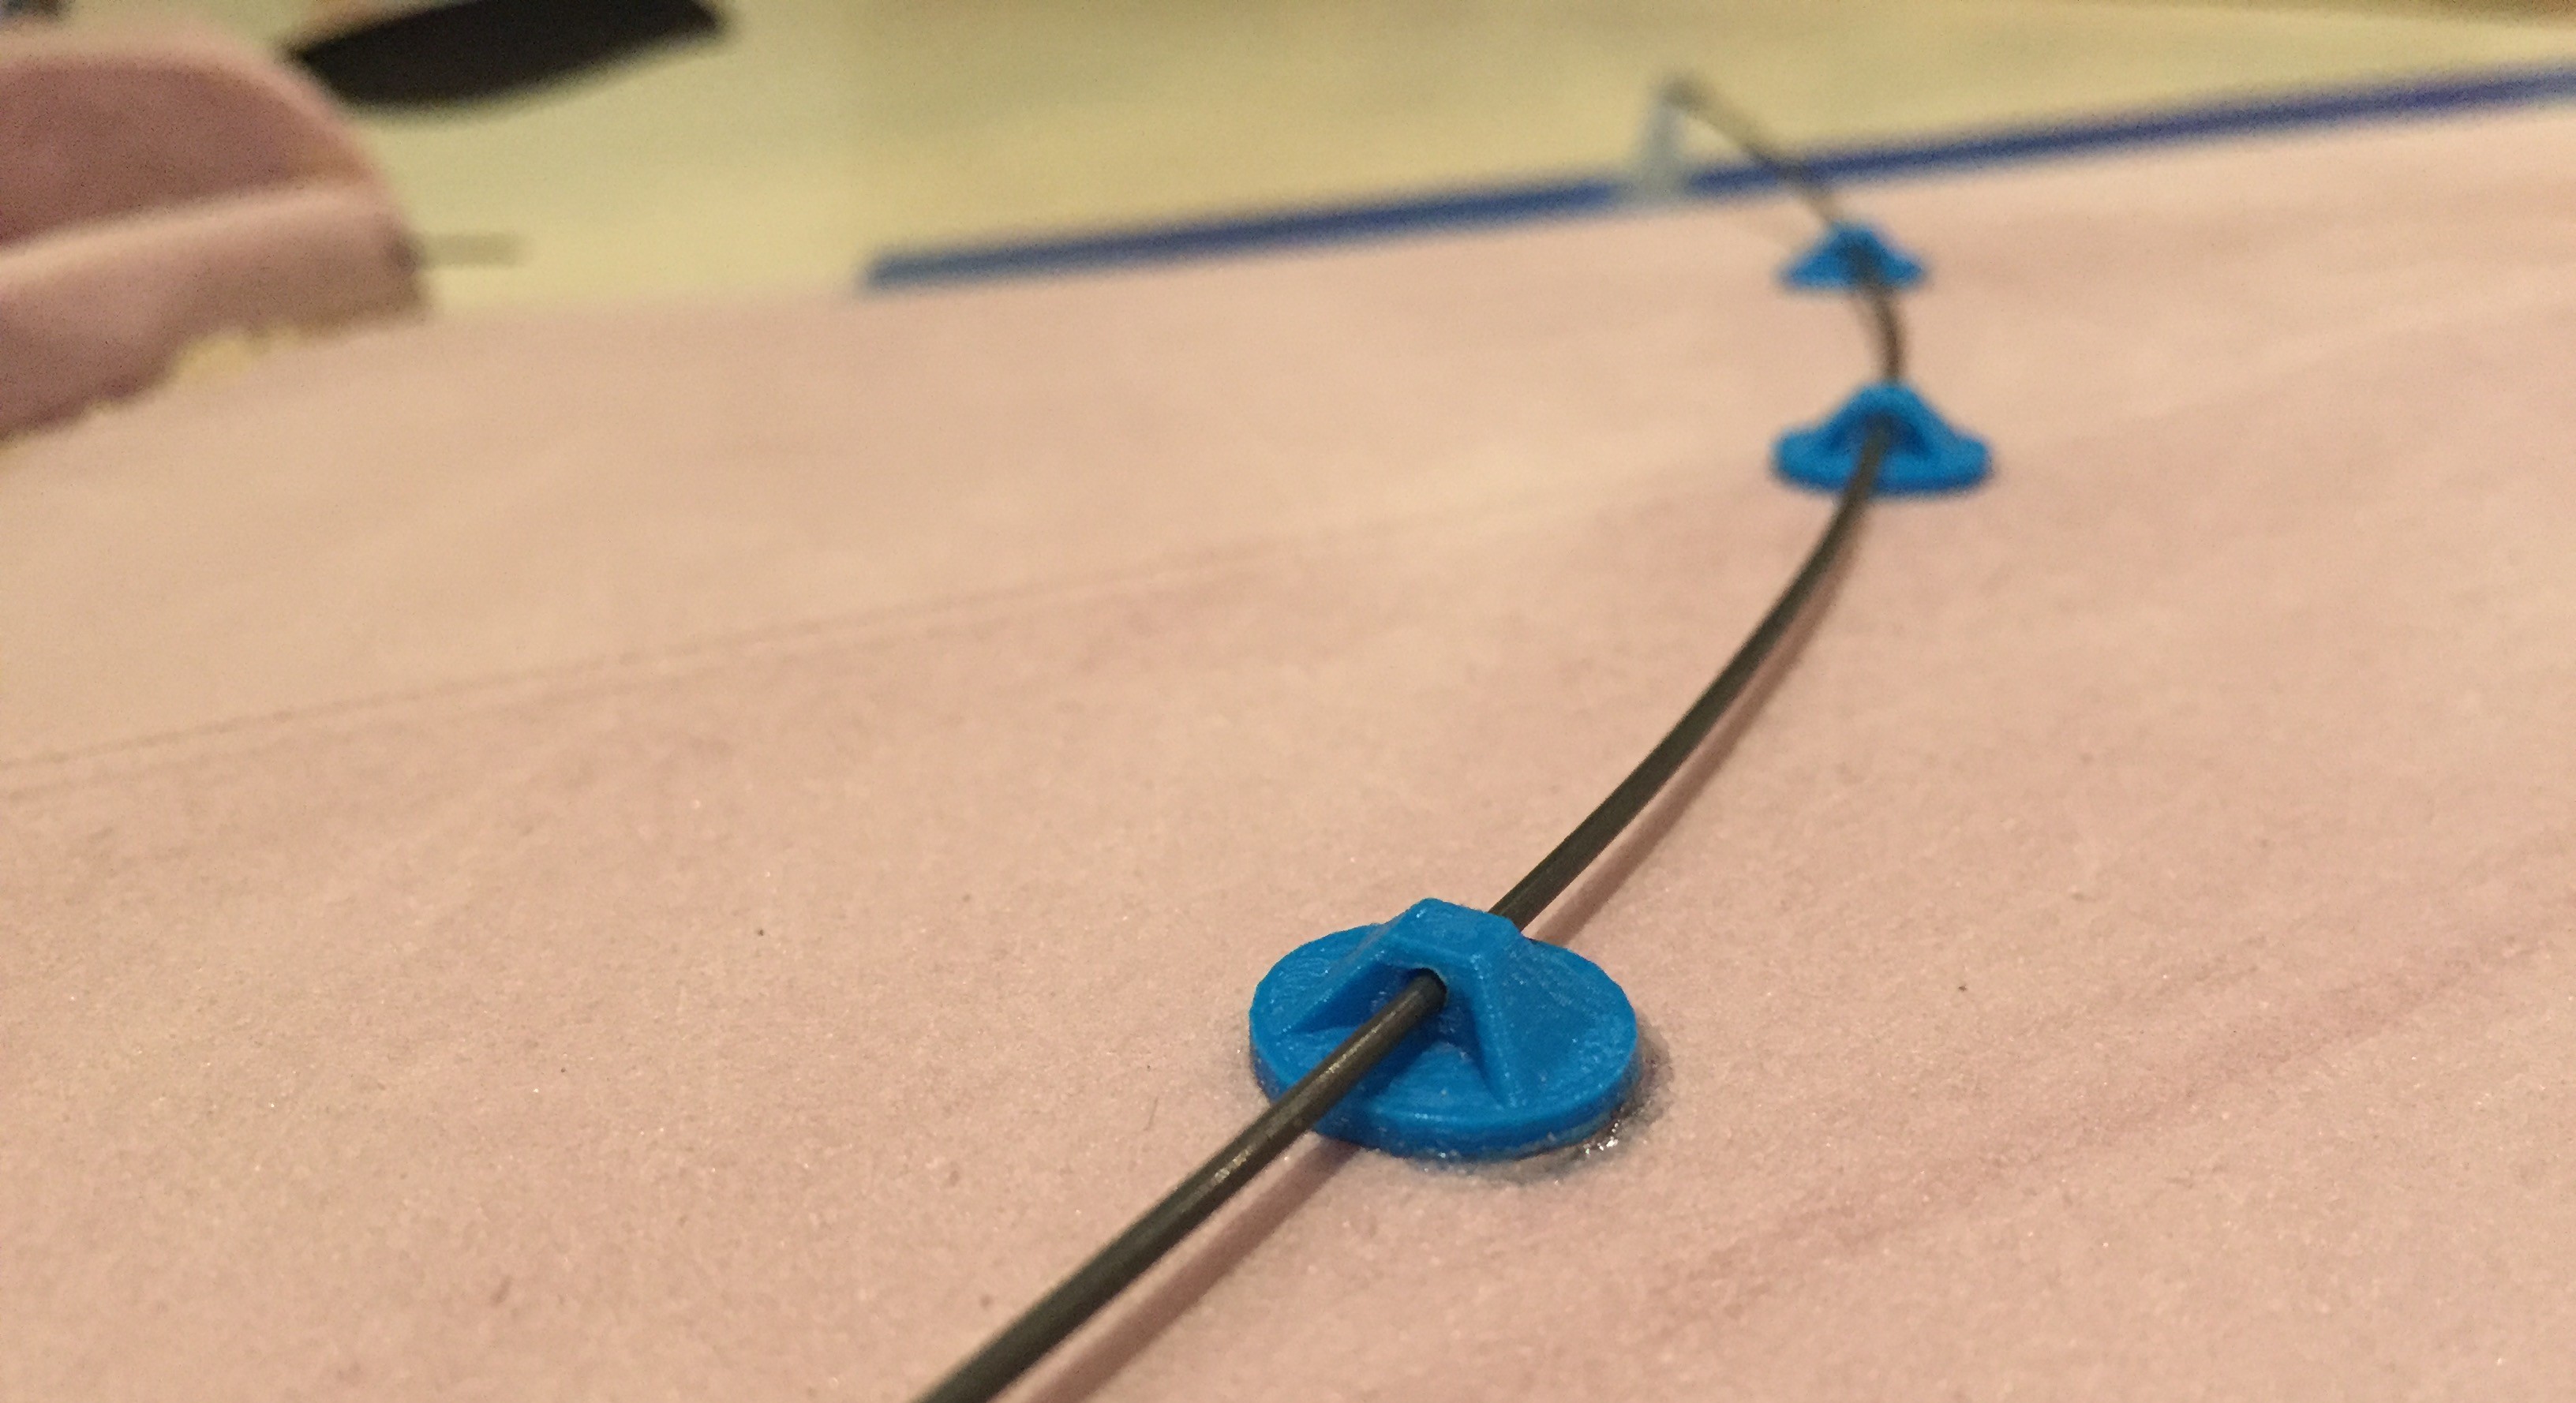
The pushrod from the servo is then guided and curved by these buttons.

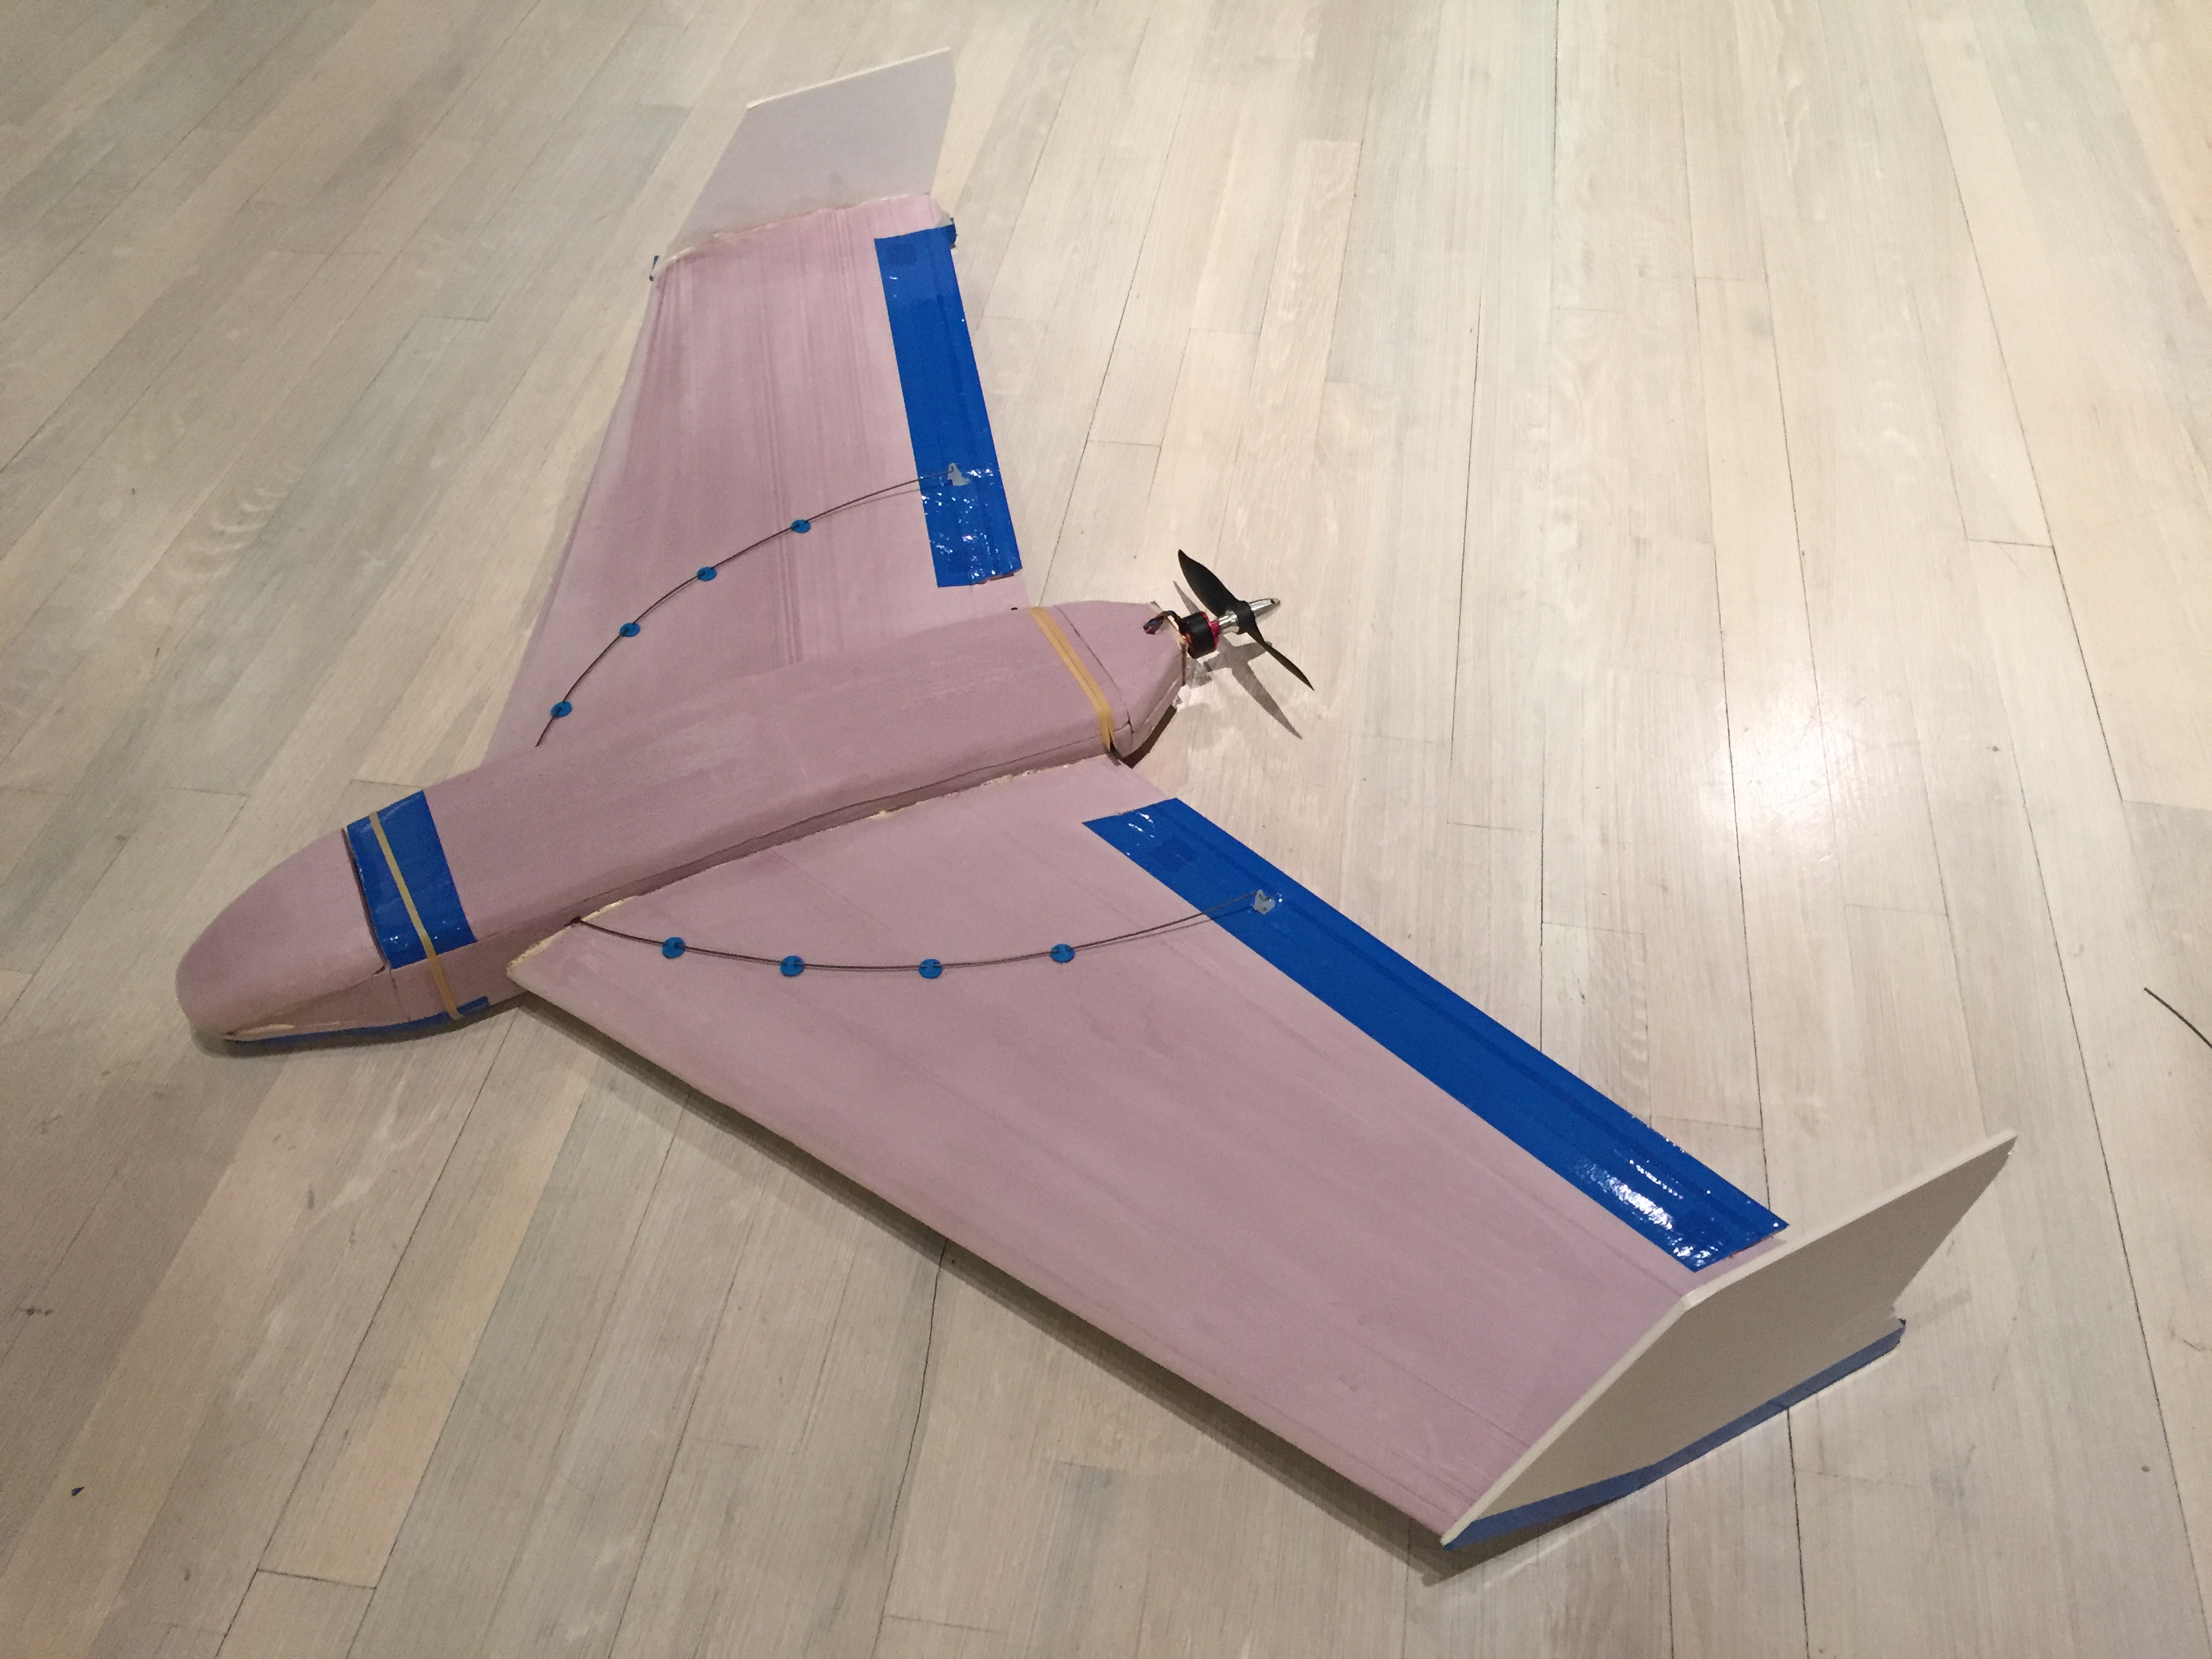
I added a motor, speed controller, and receiver to finish off the prototype. The final aircraft will obviously not have a motor and a speed controller, but on the ARV MK1 the motor will allow me to climb up to altitude without a balloon and then glide back down.
Here is the completed aircraft.
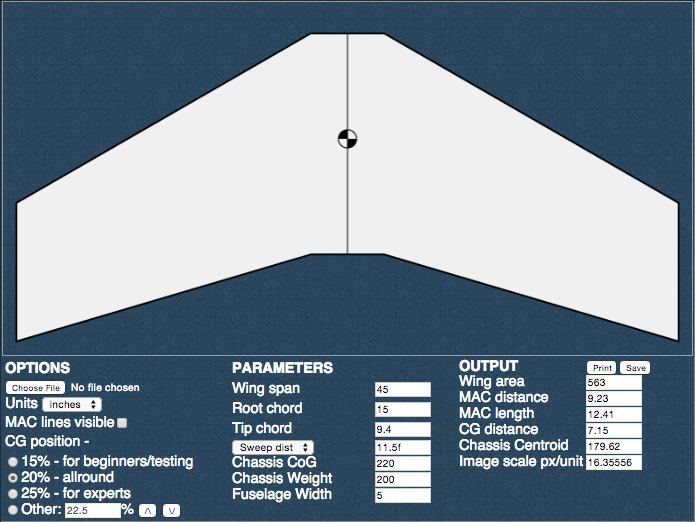
This online CG calculator helped me determine the placement of the center of gravity (7 inches back from the leading edge where the wing meets the fuselage). It also reveals that the MK1 has about 560 square inches of lifting surface, which is quite a lot!
When the weather got nice enough, I took the plane out for a maiden flight:
You are a genius. Are you going to use the gps system as DJI fly back mode?Can u design for me a cheap rc plane such as the cargo plane as in your ytube video, i can’t afford expensive rc drone such as DJI ? I’m from Malaysia by d way. TQ.
I’m using the APM autopilot system to have the aircraft fly back. As for building a cheap plane, I’ve already got several videos on the subject. You may be interested in this one: https://www.youtube.com/watch?v=kobJpBQO3hs